 Moo Classic Wiki
New maps: Devias Wasteland and Promiseland
| Map | Entry | Level range of monsters | Safe zone | Season |
|---|---|---|---|---|
| Devias Wasteland | Gate in Devias (level 30) or the Move list entry DeviasW (level 40, 4,000 zen) | 20 to 52, with rare bosses up to 150 | The outpost | Season 2 Enhanced |
| Promiseland | Ship from the pier of Lorencia (level 60, no fare), or the Move list (level 80, 1,000,000 zen) | 62 to 100 | The caravan town and the harbour | Season 2 Enhanced |
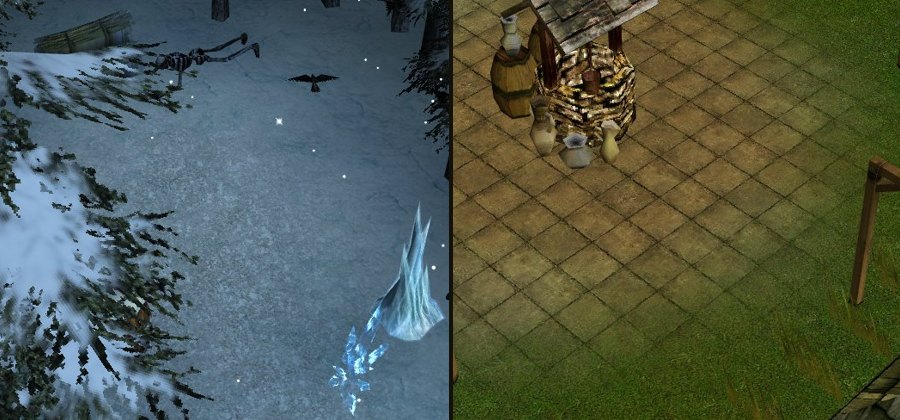
- Devias Wasteland was made as a frontier map for hunting. It rises in level from the outpost outward, so one map serves a long stretch of levels. Its monster count was tuned down after play-testing showed it was too crowded, and it now sits near the density of Devias.
- Promiseland is where the ships at the pier of Lorencia finally go. In the original game they were scenery that went nowhere, and players always expected them to sail one day.
- Every map in the original game keeps its original monster count. The two new maps have their own density, set by play-testing.
- Both maps hold their own rewards for active play: rare bosses that arrive at random times, a hidden shop that is worth the walk, and a Golden Moo hunt twice a day. Nobody can camp one spot and own the drops.
NPCs and events on the new maps
Moo Classic rewards active play. Each change below gives a reason to go somewhere.
| What | Where | What changed | Why |
|---|---|---|---|
| Ruin Smith | Devias Wasteland, (19, 57) | New NPC. Sells gear no other shop sells | A hidden spot with no reward of its own was not worth the walk |
| Hermit | Devias, (9, 77) | New NPC. First stood in the Wasteland, now at the merchant camp in Devias | Gear is bought before the trip, so the outpost stays a rest stop |
| Thompson the Merchant | Devias Wasteland, (120, 237) | Moved here from his old post. Took the Hermit's old place | The far camp gets a stop to restock potions and ammunition |
| Potion Girl Amy and Baz The Vault Keeper | The outpost and the caravan town | Placed on both new maps | Each safe zone has the two things a hunter needs: potions and a vault |
| Wasteland rare bosses | Devias Wasteland | Four new bosses at random times | Nobody can camp a spot and own the drops |
| Golden Moo and Elite Golden Moo | Devias Wasteland and Promiseland | New hunt event that replaces the Golden Bull | A hunt that pays for active play. Promiseland is a trip away |
- 0.1 NPCs and events on the new maps
- 1 Devias Wasteland
- 1.1 Getting there
- 1.2 The outpost
- 1.3 The frozen camp: Thompson
- 1.4 The Hermit in Devias
- 1.5 The ruins: Ruin Smith
- 1.6 Areas
- 1.7 Monsters
- 1.8 Hidden spots
- 1.9 Rare bosses
- 2 Promiseland
- 2.1 Getting there
- 2.2 The caravan town
- 2.3 Areas
- 2.4 Monsters
- 3 Golden Moo
- 3.1 Event items
- 4 Maps in game
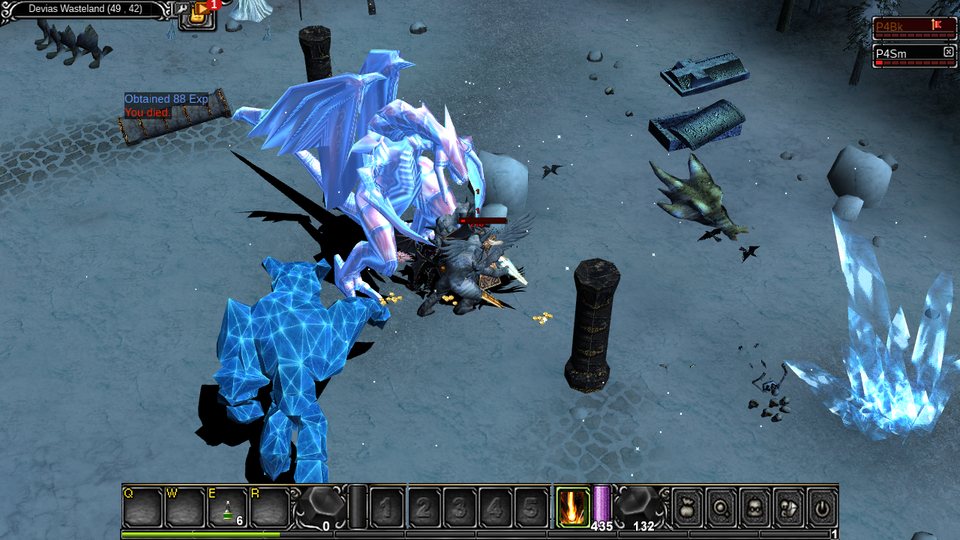
Devias Wasteland
Story (lore only). The ice north of Devias was once a frontier, where the soldiers of the Kingdom held a line against the dark forces. The cold took the battlefield after them, and frozen banners still stand there. Merchants and adventurers later followed the Archangel's lantern to the edge of the field.
Getting there
There are three ways in:
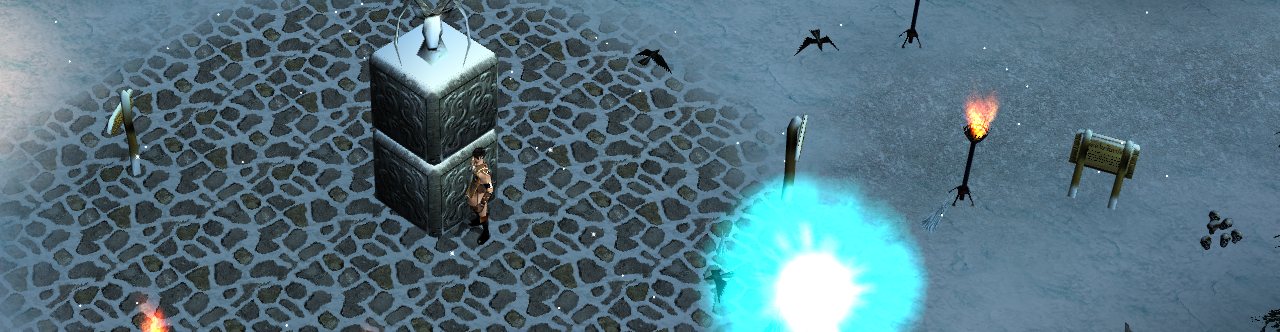
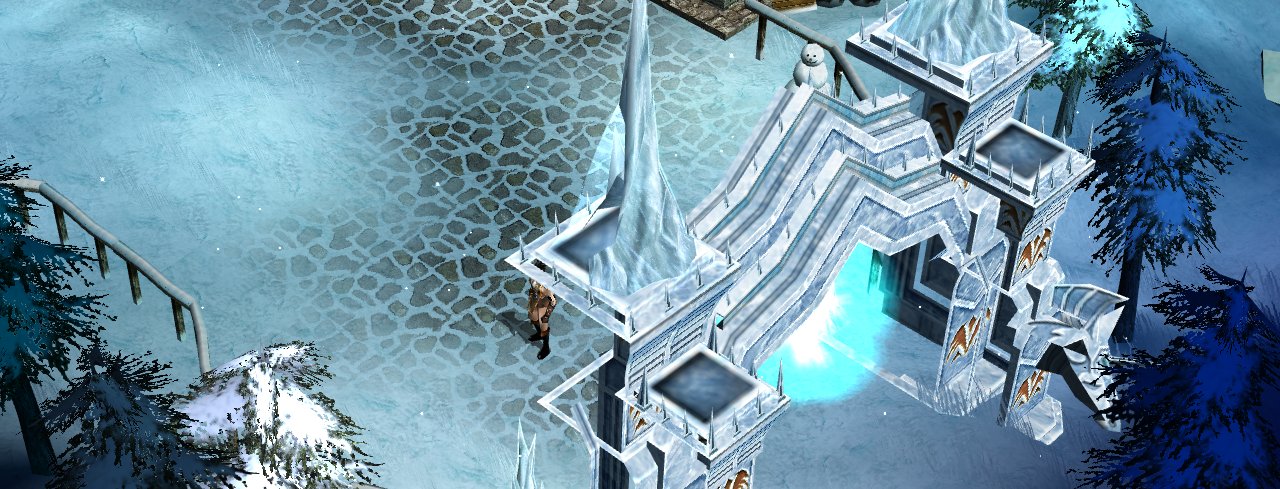
- The walk-in gate from Devias. Go to the big ice gate at the east end of the cobbled path in Devias, at (244-245, 9-12), by the fence. You need level 30 to walk through. You arrive at the outpost, at (200-202, 99-101).
- The Move list. Open the Move list and pick DeviasW. This is the Devias Wasteland entry. It costs 4,000 zen and needs level 40. It takes you to the same outpost. The Move list name is short because a longer name did not fit the menu.
- Back to Devias. Walk into the glowing blue light at (211-214, 98-101), at the east edge of the outpost. It takes you back to the big ice gate in Devias, at (242, 10). This way needs no level.
The east gate and the Move list entry have different level needs on purpose: a character can walk to the gate from Devias at level 30, but the Move list skips the walk and asks more.
The outpost
The outpost is a safe zone of its own. It is not part of Devias. When your character dies in the Wasteland, it wakes at the outpost, and not in Devias.
Reading a Town Portal Scroll in the Wasteland also takes you to the outpost. So a death far from Devias does not send you back through the gate.
Two of the town's people stand here:
| Who | Where | What they do |
|---|---|---|
| Potion Girl Amy | (206, 95) | Sells potions, Antidote, Apple, Arrow and Bolt |
| Baz The Vault Keeper | (208, 96) | Your vault |
Personal stores at the outpost price items in Jewels of Soul. The outpost has only these two town's people on purpose. It is a rest stop, not a second town.
The frozen camp: Thompson
Thompson the Merchant has a camp in the south of the Wasteland, at (120, 237). He took the Hermit's first place, so the far camp still has a place to restock and to buy the scroll for the way back.
| He sells | Notes |
|---|---|
| Potions, Antidote | Stacks of six, so a few stacks cover a long hunt |
| Town Portal Scroll | For the way back |
| Arrow and Bolt | At +3, the strongest ammunition on sale |
The Hermit in Devias
The Hermit stands at the merchant camp in Devias, at (9, 77), by the Devias 2 warp. He was made for the Wasteland trip and sells gear that other shops do not:
- Healing Potion, Large Healing Potion, Mana Potion and Large Mana Potion in stacks of four.
- Arrow and Bolt at +3. Most other shops sell them at +0 to +2.
- Sphinx Armor, Sphinx Pants and Sphinx Mask, Spirit Armor and Spirit Pants, at +1 or +2. Wandering Merchant Martin in Lorencia sells the Sphinx and Spirit pieces too, at +0.
- Plate Armor and Plate Pants, sold by no other shop.
- Tiger Bow, Thunder Staff and Berdysh, also sold by no other shop.
- Scroll of Ice and Scroll of Poison.
He has no Jewel of Bless, no Antidote and no Town Portal Scroll. He says a line about the Aurora Queen when his shop opens.
He was first placed in the Wasteland and was moved to the merchant camp in Devias. The reason: you buy the shelf before the trip, and the Wasteland outpost stays a rest stop. Thompson the Merchant took his old place in the Wasteland.
The ruins: Ruin Smith
The Ruin Smith is hidden behind the tundra ruin in the north-west, at (19, 57). Few people find him. He is the reward for exploring: the hidden spot had nothing of its own, so a shop was put there to make the walk worth it. He sells 13 pieces that no town shop sells, all at +0:
- Legendary Gloves and Legendary Boots, Dragon Gloves and Dragon Boots, and Guardian Gloves and Guardian Boots.
- Plate Gloves, Plate Boots and Plate Helm.
- Weapons: Serpent Crossbow, Serpent Spear and Crescent Axe, which come with their skill, and Gorgon Staff.
The town shops do not sell these. Upgrade what you buy here with Jewels and upgrades.
Areas
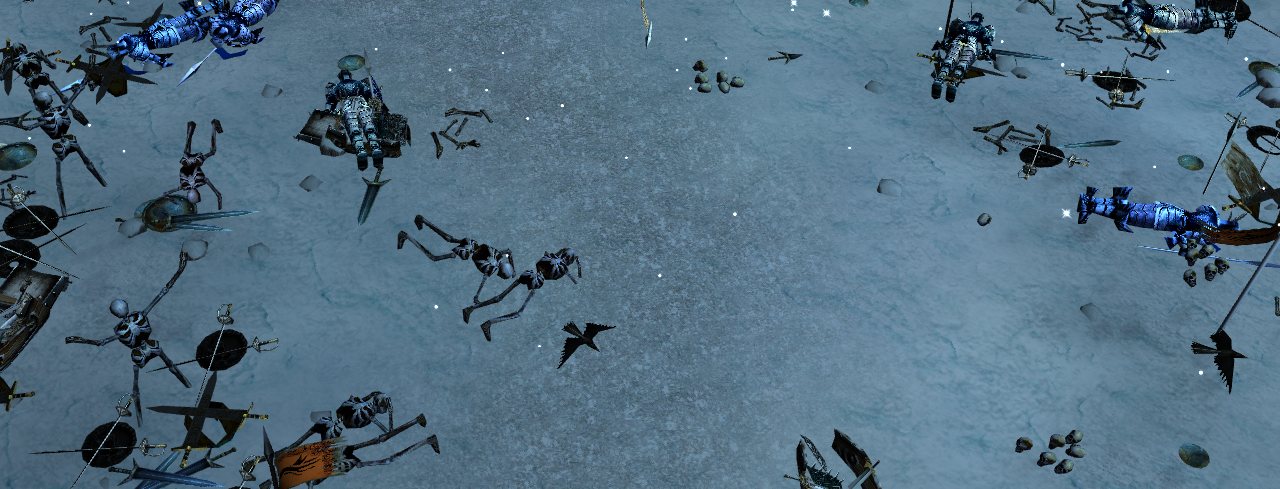
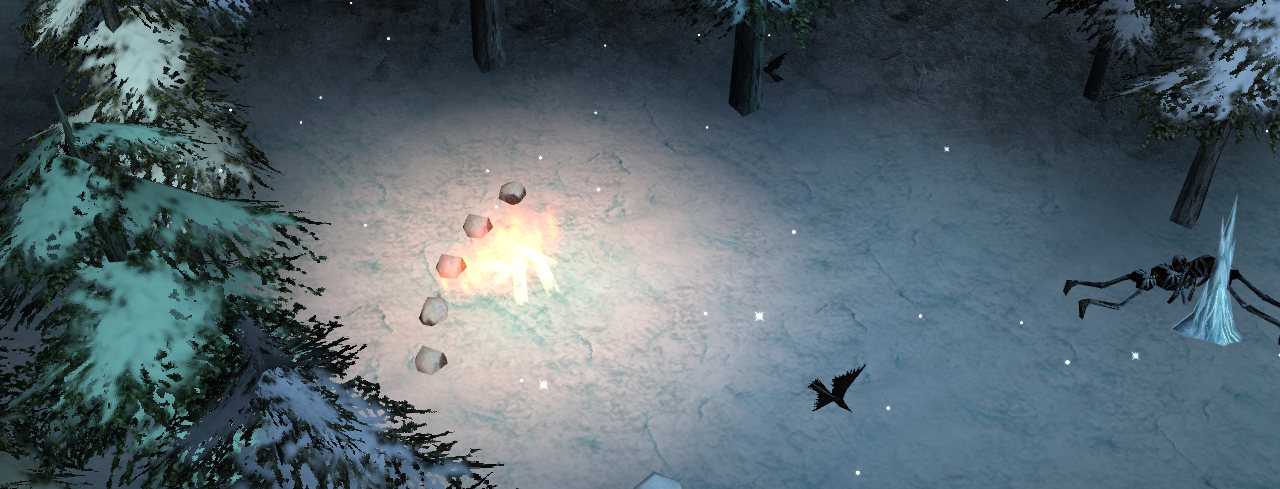
- The battlefield, around (186-193, 26-33). Armour, shields, swords and dead guards lie in the snow. A clearing of Yeti stands here. Fallen soldiers, banners, loose arms and bones lie around it. The fallen soldiers are guards of Devias. They do not move. The battlefield was added so the Yeti ground looks like a place where a war was lost.
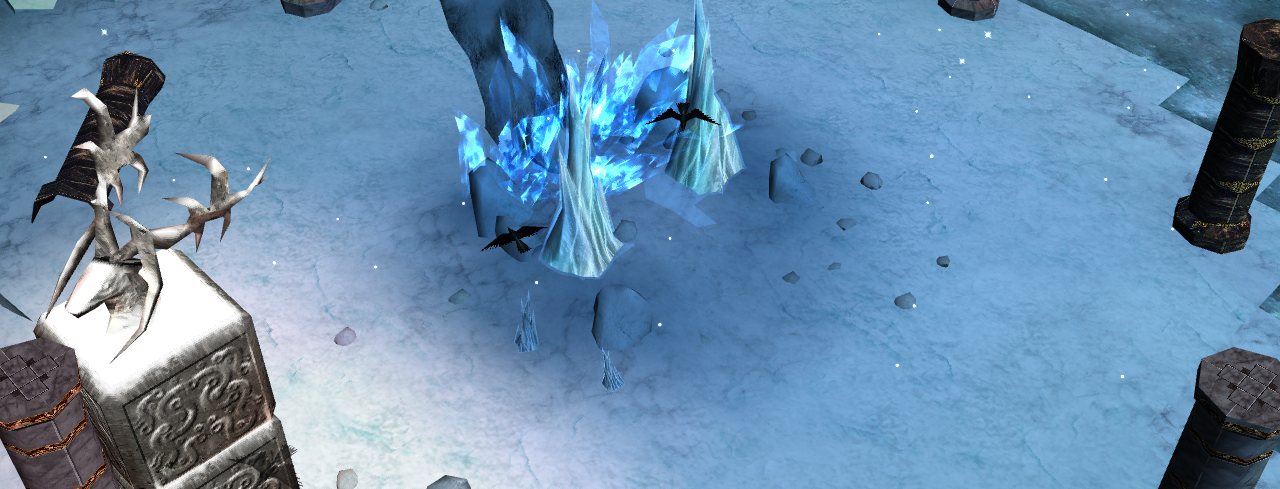
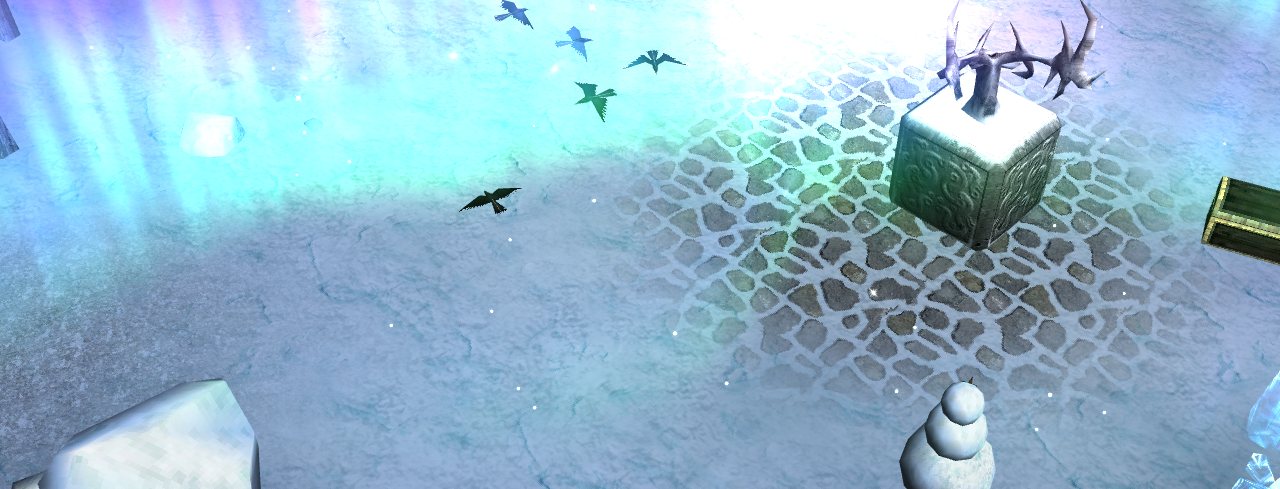
- The frozen lake, in the middle of the Wasteland. A small island of ice crystals sits in the water. The ice is for fliers only (see below). The Yeti King holds the island.
- The tundra ruin in the north-west, where the Ruin Smith is hidden.
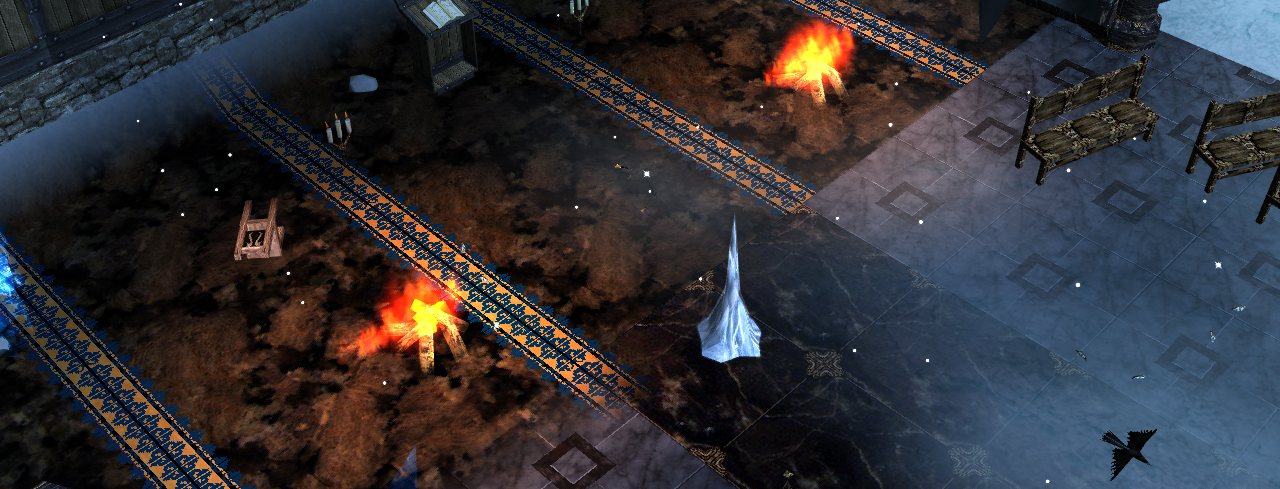
- The cathedral and houses. Their wall gaps open two tiles wide and can be walked through. Loose beams lie on the ground. Both were fixed after players found gaps that did not work and beams that floated.
- The frozen camp in the south, where Thompson the Merchant has his stall.
- The highlands in the east, where Hommerd stands in its clearing at (224, 166).
- The grotto in the south-east, where Assassin stands at (226, 228).
- The far south-west, at (40-43, 185-188), where the Ice Queen waits alone.
The frozen lake
Only a flier can cross the ice. You fly if you wear wings, wear a Cape of Lord, or ride a Dinorant. The Dark Horse and Fenrir do not count. Anyone else is stopped with the message "You need wings to cross the ice." Monsters never enter the ice, and Teleport never lands a character without wings on it.
This is why: the island shrine is the home of the Yeti King, a prize for high levels, and the ice keeps it for characters that have earned wings.
Monsters
The monsters' levels rise the farther you go from the outpost. The weakest are on the near ground, and the Ice Queen is the strongest.
| Monster | Level | Where you find it (coordinates) |
|---|---|---|
| Worm | 20 | (145, 86), (224, 46) and (229, 111) |
| Ice Monster | 22 | (118, 79), (152, 159) and (229, 139) |
| Hommerd | 24 | (174, 198) and (224, 166) |
| Assassin | 26 | (83, 142), (128, 176) and (226, 228) |
| Yeti | 30 | (80, 185) and (186, 26), the battlefield |
| Elite Yeti | 36 | (42, 32) and (51, 182) |
| Ice Queen | 52 | Alone, at (40-43, 185-188) |
Each kind also stands in smaller groups of one to four in the nooks off the main clearings. The map holds about 300 monsters.
Hidden spots
Five hidden packs stand off the main paths. They are Yeti, Hommerd and Elite Yeti, at most five to a pack, and they drop only what the monster drops.
| Hidden pack | Monsters |
|---|---|
| The north ledge, the crevasse end, the south rim end, the deep wood, the secret glade | Yeti, Hommerd and Elite Yeti, at most five to a pack |
They are quiet corners away from the crowd. Rewards for finding things sit with the Ruin Smith and the bosses.
Rare bosses
Four bosses live in the Wasteland. They do not follow a fixed clock, so waiting at one spot does not work. Each boss comes back at a random time after it dies. Most are announced to the whole server.
| Boss | Level | Life | Where | When | Reward |
|---|---|---|---|---|---|
| Aurora Queen | 125 | 100,000 | The aurora grotto, one of three spots, with a court of four Ice Monster | About every 1.5 to 3 days | A Silver Medal box, and a jewel for the top damage dealer |
| Glacier Colossus | 140 | 105,000 | A random tile of the map, never the outpost | A few times a day, announced without a place, stays until killed | A Gold Medal box, and 1 or 2 jewels for the top damage dealer |
| Frost Dragon | 148 | 120,000 | The bone field, one of three spots | About every 1.5 to 3 days, announced | A Gold Medal box, 2 or 3 jewels, and half the time one excellent item |
| Yeti King | 150 | 140,000 | The ice throne on the lake island | About every half day, with two Ice Monster guards | A Heart of Dark Lord box, 3 to 5 jewels, one excellent item, and 1 time in 10 an ancient item and zen piles |
- The Aurora Queen is the first of the four: a party of three or four level 300 characters takes about a minute and a half. Her frost blow hits everyone within 3 tiles every 8 seconds. Fight in a party and spread out.
- The Glacier Colossus takes such a party about 2 to 3 minutes. It stays until killed.
- The Frost Dragon takes such a party about 3 to 4 minutes. Its icy breath hits hard, everyone within 4 tiles, every 5 to 7 seconds.
- The Yeti King is the strongest, about 5 minutes for such a party, and its stomp hits everyone within 4 tiles every 6 to 8 seconds. You need wings to reach it.
- The box goes to the first player by damage whose account has had none of that boss's loot in the last 20 hours. The jewels go to the top damage dealer.
- A Heart of Dark Lord box comes at most once in 24 hours from any boss.
- Each boss pays by its strength: the Aurora Queen the least, the Yeti King the most.
Why they are timed this way: nobody should camp a boss or own its drops. Each boss arrives at a random time within its window, so a player out hunting meets them and a player waiting at one spot does not.
The Frost Dragon sits between the Glacier Colossus and the Yeti King. All four hit hard enough that someone has to tank them on potions. The Glacier Colossus roams so that it has to be found, and its box is a Gold Medal.
The bosses are our own. The original Ice Queen is a normal level 52 monster, and the Frost Dragon and Glacier Colossus are stronger versions of known monsters.
Promiseland
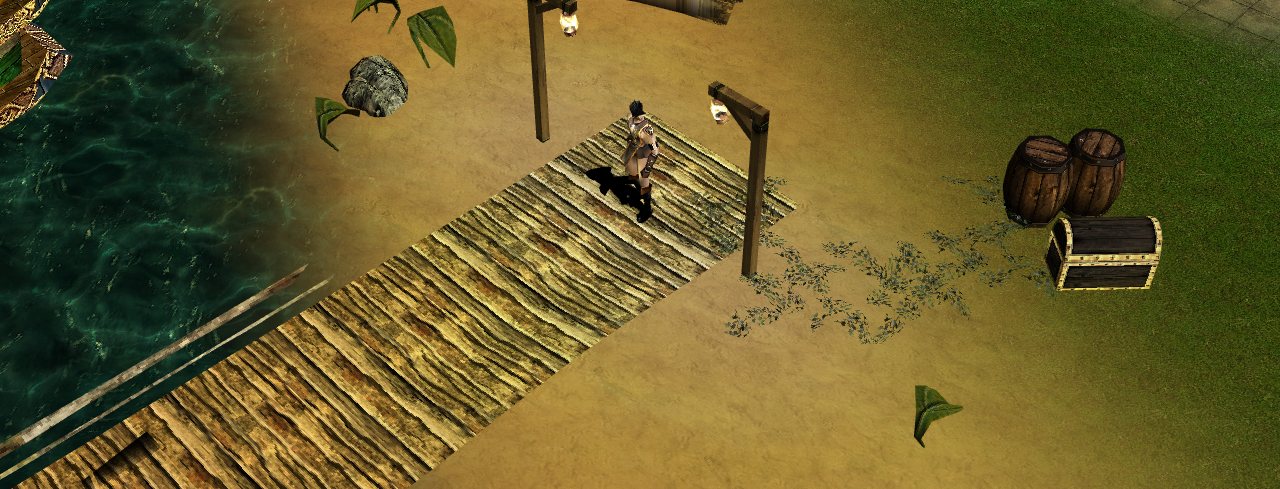
In classic MU the ships moored at the pier of Lorencia always looked like they would take you somewhere one day, but they never did. So we built the land the ships promised, and you sail there from the pier. That is why it is called Promiseland.
The caravan camp at its pier is where the first travellers settled, and an old fort stands beyond the meadows.
Getting there
Promiseland is reached by sea, or from the Move list. The Move list entry is called Promiseland and costs 1,000,000 zen, from level 80. Sailing stays free.
- From Lorencia. Walk to the end of the pier in Lorencia, at (236-237, 239-240), beside the two moored ships. You need level 60. The ship sails, and you land on the pier of Promiseland at (69-71, 22-24).
- Back to Lorencia. Walk to the end of the pier in Promiseland, beside the moored ship, at (69-71, 11-12). You land on the pier of Lorencia at (231-232, 239-240).
There is no fare. The ships were scenery in the original game, and now they sail. While you sail, the screen shows the night sea and "Setting sail for Promiseland..." for two seconds, and it fades after that. The harbour where the ship lands is a safe zone.
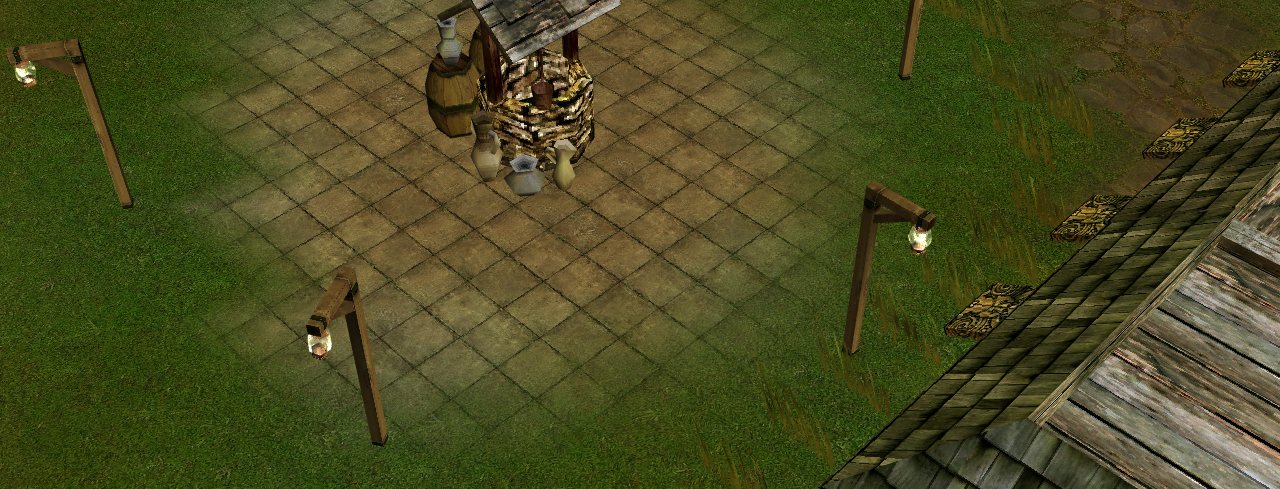
The caravan town
The caravan town around the pier is a safe zone. When your character dies on Promiseland, it wakes here, at (66-69, 46-48).
| Who | Where | What they do |
|---|---|---|
| Baz The Vault Keeper | (74, 30), at the pier's foot | Your vault |
| Potion Girl Amy | (56, 44), inside the west house | Sells potions, Antidote, Apple, Arrow and Bolt |
Areas
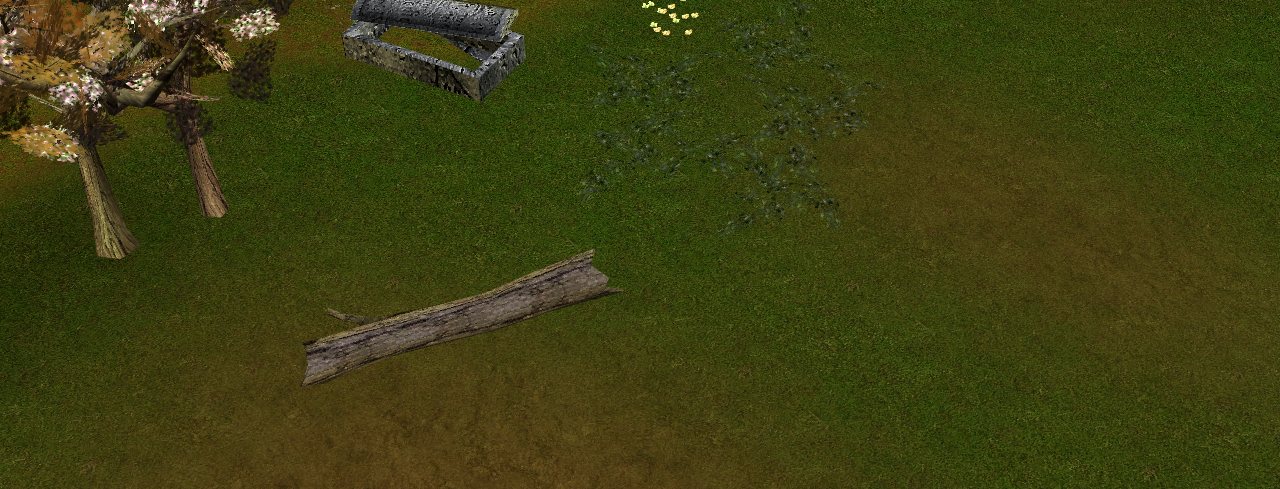
- The harbour valley, between the west rock and the great spine, with Death Tree among the trees.
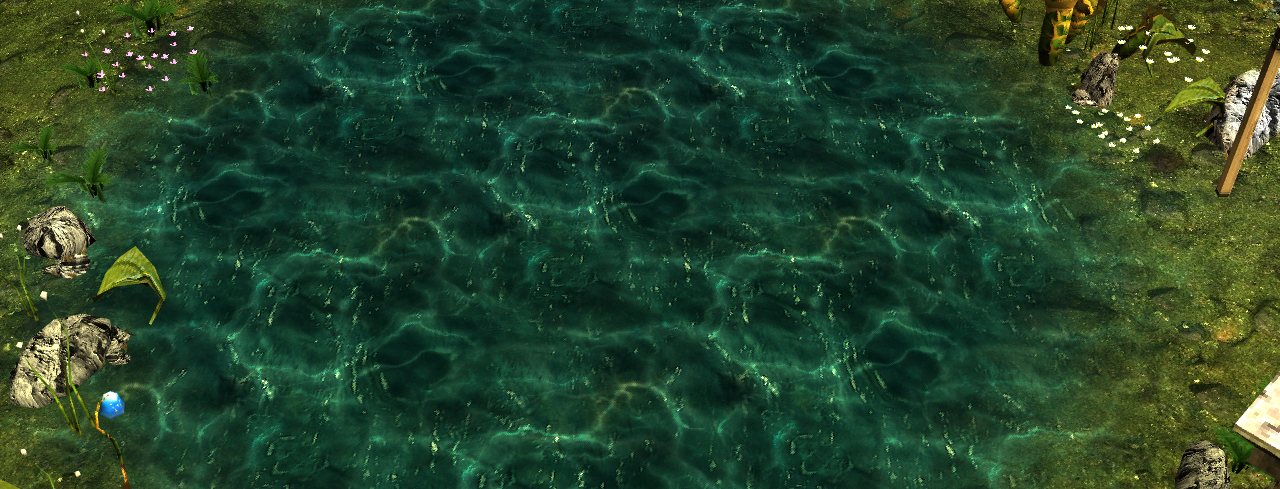
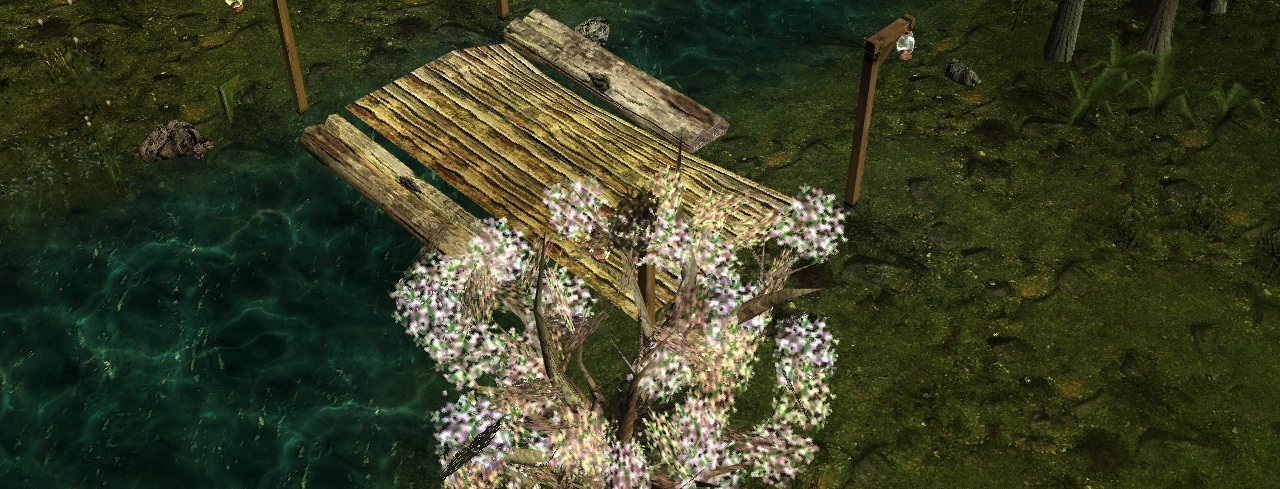
- The north meadow, with a lotus pond and reeds. Witch Queen stands in the meadow's north.
- The river and its bridges. The river runs down a canyon on the east side. Planked bridges cross it.
- The far bank, the farms across the river. Phantom Knight and Great Drakan stand in the fields.
- The old fort in the south-west, with walls and broken statues. Queen Rainer, Alpha Crust and Drakan live in the ruins.
- The dry edge in the south-east, with sand and dunes.
Monsters
Promiseland holds 467 monsters of 13 kinds, from Aida, Tarkan and Icarus. Its weakest, Death Tree and Forest Orc, are level 62 and 64, and the strongest, Great Drakan, is level 100.
Every monster keeps its original life, damage and defense, and a kill pays by the monster's level, as everywhere else. The high levels are what make the map pay: its average monster is level 79.
| Monster | Level | Where you find it (coordinates) |
|---|---|---|
| Death Tree | 62 | (30-41, 126-137) |
| Forest Orc | 64 | (81-92, 126-137) |
| Death Rider | 68 | Spread across the map, from the north to the south |
| Blue Golem | 74 | (108-119, 84-95) |
| Bloody Wolf | 76 | (111-122, 114-125) |
| Iron Wheel | 80 | (129-140, 147-158) and (129-140, 183-194) |
| Tantallos | 83 | The south-middle, from (116, 160) to (189, 224) |
| Witch Queen | 84 | (150-161, 39-50) and (177-188, 21-32) |
| Queen Rainer | 82 | The old fort, (63-74, 183-194) and (75-86, 216-227) |
| Drakan | 86 | The old fort, among the Queen Rainers and the Alpha Crusts. It shoots from a distance |
| Alpha Crust | 92 | The old fort, (30-41, 189-200) and (33-48, 189-203) |
| Phantom Knight | 98 | The far bank, (222-233, 84-95) and (228-239, 165-176) |
| Great Drakan | 100 | The far bank, among the Phantom Knights. It shoots from a distance |
Golden Moo
The Golden Moo is our own event. It replaces the Golden Bull. See New bosses and event monsters for the full picture.
| Monster | Where | Life | Meant for characters level | Reward |
|---|---|---|---|---|
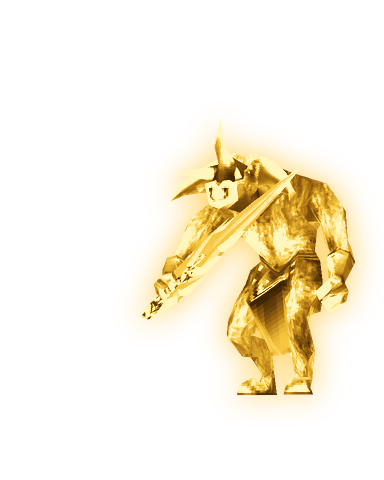
| Golden Moo (monster level 15) | Devias Wasteland | 30,000 | 20 to 150 | Experience for each blow, and 8 to 12 piles of zen on death |
| Elite Golden Moo (monster level 300) | Promiseland | 20,000,000 | Everyone, up to 350 | Experience for each blow, and 20 piles of zen of unequal size on death |
- Each appears at random times on a random tile: 40 to 140 steps from the Wasteland outpost for the Golden Moo, at least 120 steps from the Promiseland pier for the Elite and always away from the monster groups.
- At most one of each exists on the server. It stays until killed.
- The server announces "The Golden Cowbell rings across the land".
- Experience is paid for every blow, and it follows the level of the player who hits.
- The Elite stomps players within 3 tiles.
The reason: a hunt that pays for active play. The small Moo tempts low levels. The Elite is a hunt for everyone, so it stands on Promiseland, where players must travel to it.
Players can also buy a Golden Cowbell in the Moo Gold shop: 3 days for 70 Moo Gold or 7 days for 150. It brings a Golden Moo of your own about every 60 to 120 minutes of hunting, never two in a row. Hunting is what counts, so it does nothing for an idle character.
The Golden Moo is separate from the Golden Invasions and does not despawn. See Invasions for the Golden Invasions of Season 0, which also come at random times. Events in Moo Classic start less often than they did at first, so a day brings far fewer notices.
Event items
Each event item has its own maps and gets better gear the harder the map. Golden Member and the Lucky Clover raise the rates below to about 1.7 times, for the player who kills the monster only.
| Item | How often | Also drops in |
|---|---|---|
| Blood Bone, Scroll of Archangel, Devil's Eye, Devil's Key | 0.15 % a kill | Lorencia, Dungeon, Devias, Noria, Lost Tower, Atlans, Tarkan, Icarus, Aida, Crywolf, Kanturu I and III, Devias Wasteland, Promiseland and Kalima 1 to 7 |
| Heart of Love | 0.06 % a kill, from monsters of level 54 to 69 | Dungeon, Lost Tower, Atlans, Kalima 2 to 4, Aida and Promiseland |
| Star of Sacred Birth | 0.05 % a kill, from monsters of level 70 to 94 | Atlans, Tarkan, Icarus, Kalima 3 to 6, Aida, Kanturu I and Promiseland |
| Firecracker | 0.04 % a kill, from monsters of level 95 to 120 | Icarus, Kalima 4 to 7, Aida, Crywolf, Kanturu I and III and Promiseland |
| Silver Medal | 0.01 % a kill, from monsters of level 121 to 138 | Crywolf, Kanturu I and Kalima 6 and 7 |
| Gold Medal | 0.005 % a kill, from monsters of level 139 and up | Kalima 6 and 7 |
| Heart of Dark Lord | 0.005 % a kill, from monsters of level 145 and up | Kalima 7 and the Kanturu event |
Each box drops only from monsters of its own level band, with gear a little below that level.
See Blood Castle, Devil Square and Kalima.
Maps in game
Both maps have a full-screen map. See Live map.
| Map | Opens with | Shows |
|---|---|---|
| Devias Wasteland | The TAB key | Gates, NPCs, party pings and pins |
| Promiseland | The TAB key | Gates, NPCs, party pings and pins |
Numbers in brackets, such as (244-245, 9-12), are map coordinates as the game shows them.